If you’re a photographer, you know how important it is to have a website that showcases your work and attracts potential clients. But creating a website can be daunting, especially if you’re not tech-savvy or don’t have much time.
That’s why we’ve put together this guide to help you build a stunning photography website in WordPress in just 5 easy steps. WordPress is the most popular and flexible platform for creating websites, and it offers thousands of themes and plugins to customize your site to your liking.
Whether you want to create a portfolio website, a membership site, an online store, or an online course site, this tutorial will show you how to do it. Let’s get started!
What You Need to Start Your Photography Website
Before you can build your website, you’ll need two things: a domain name and a web hosting plan.
A domain name is your website’s address on the internet, such as www.yourname.com. A web hosting plan is where your website’s files and database are stored online.
There are many providers that offer domain names and web hosting plans, but we recommend using Bluehost. Bluehost is one of the largest and most reliable web hosting companies in the world, and they offer a free domain name and a 60% discount on web hosting for our readers.
To get started, click on this link to go to Bluehost’s website and then click on the green Get Started button.
On the next page, you’ll see different plans to choose from. We recommend choosing the Basic plan, which is enough for most photography websites. You can always upgrade later if you need more features or resources.
After choosing your plan, you’ll be asked to enter your domain name. You can either use an existing domain name that you already own, or register a new one for free with Bluehost.
Once you’ve entered your domain name, you’ll need to fill out some personal and payment information to create your account. You’ll also see some optional extras that you can add to your plan, such as domain privacy protection or site backup. We recommend skipping these extras for now, as they are not essential for your photography website.
After completing your purchase, you’ll receive an email from Bluehost with details on how to log into your account and access your web hosting dashboard.
Step 1: Install WordPress
Now that you have your domain name and web hosting plan, the next step is to install WordPress on your site. WordPress is the software that powers your website and allows you to create and manage your content.
Installing WordPress with Bluehost is very easy, thanks to their one-click installation feature. To do this, log into your Bluehost account and go to the My Sites section. Then click on the Create Site button.
On the next page, you’ll need to enter some basic information about your site, such as the site name and tagline. You can change these later if you want.
Then click on the Next button and choose the domain name that you want to use for your site. You can also choose a subdirectory if you want to install WordPress in a specific folder of your domain name.
After that, click on the Next button again and wait for a few minutes while Bluehost installs WordPress on your site.
Once WordPress is installed, you’ll see a success message with your site’s URL and login credentials. You can also access these details from your email or from the My Sites section of your Bluehost dashboard.
To log into your WordPress dashboard, simply click on the Log into WordPress button or go to www.yourdomain.com/wp-admin (replace yourdomain.com with your actual domain name) and enter your username and password.
Congratulations! You’ve successfully installed WordPress on your site!
Step 2: Customize Your Site
Now that you have WordPress installed on your site, the next step is to customize it to match your style and brand. This is where the fun begins!
One of the best things about WordPress is that it offers thousands of themes and plugins that you can use to change the appearance and functionality of your site.
A theme is a collection of templates and stylesheets that define how your site looks. A plugin is a piece of software that adds new features or enhances existing ones on your site.
To find and install themes and plugins for your site, go to your WordPress dashboard and navigate to Appearance » Themes or Plugins » Add New.
You’ll see a library of free themes and plugins that you can browse by category, popularity, rating or keyword. You can also preview and install any theme or plugin that you like.
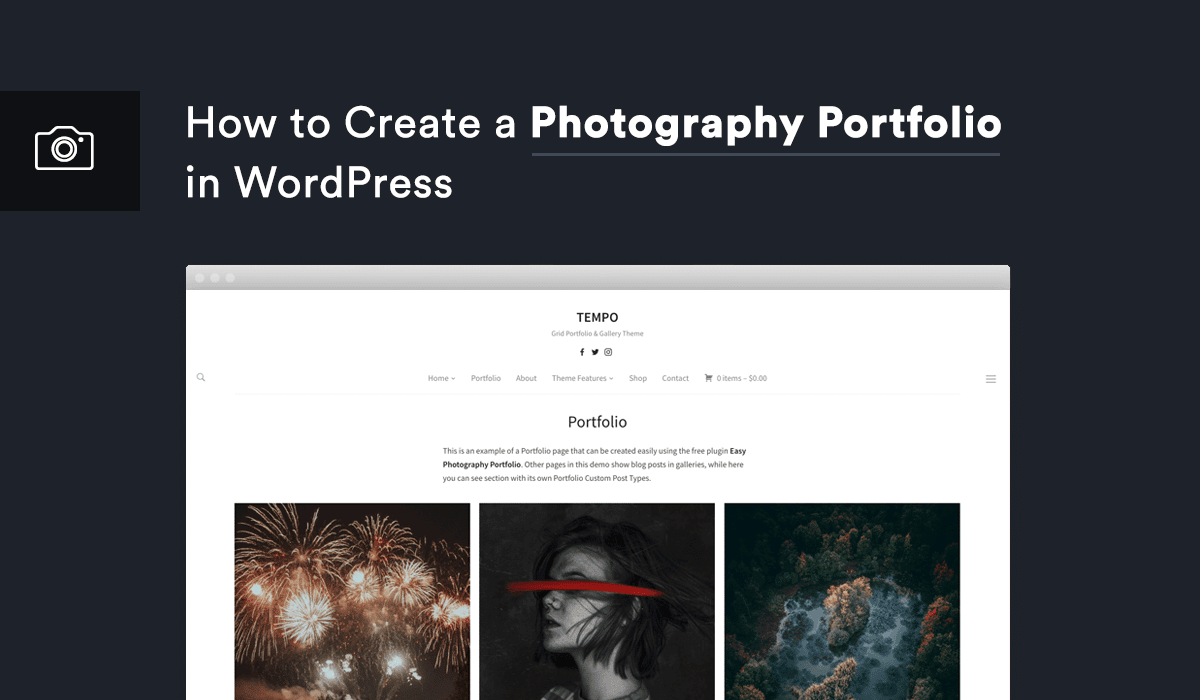
For your photography website, you’ll want to choose a theme that showcases your photos in a beautiful and professional way. There are many photography themes available for WordPress, but we recommend using Astra.
Astra is one of the most popular and versatile themes for WordPress, and it comes with dozens of ready-made templates that you can import and customize with a few clicks. Astra is also fast, lightweight, responsive, and SEO-friendly.
To install Astra on your site, go to Appearance » Themes » Add New and search for Astra. Then click on the Install and Activate buttons.
After activating Astra, you’ll see a welcome message with a link to the starter templates library. Click on it to browse the different templates that you can use for your site.
You’ll see templates for different niches and categories, such as business, blog, eCommerce, and more. You can filter them by page builder, such as Elementor or Beaver Builder, which are drag and drop tools that let you design your pages visually.
For your photography website, we recommend choosing a template that suits your style and needs. For example, you could choose the Photographer template if you want to create a portfolio website, or the Photo Studio template if you want to create an online store.
To import a template, simply hover over it and click on the Import Complete Site button. You’ll see a popup asking you to confirm your choice and select some options. You can choose to import the entire site or only specific pages, and whether to delete your existing content or not.
We recommend importing the entire site and deleting your existing content if you’re starting from scratch. This will give you a fully functional website that you can customize later.
After clicking on the Import button, wait for a few minutes while Astra imports the template to your site. Once it’s done, you’ll see a success message with a link to view your site.
Click on it to see how your site looks like. You’ll notice that it already has some demo content and images that match the template. You can replace them with your own content and images later.
Step 3: Add Your Content and Images
Now that you have a beautiful template for your site, the next step is to add your own content and images to make it unique and personal.
To do this, you’ll need to edit the pages of your site using the page builder that comes with the template. In this case, we’ll use Elementor as an example.
Elementor is one of the most popular and powerful page builders for WordPress, and it lets you design your pages with a live preview and drag and drop interface.
To edit any page of your site with Elementor, simply go to Pages » All Pages from your WordPress dashboard and hover over the page that you want to edit. Then click on the Edit with Elementor link.
This will open the Elementor editor where you can see your page in real time and make changes to it. You’ll see two panels on the screen: one on the left with various widgets and settings, and one on the right with your page content.
To edit any element of your page, such as text, image, button, or section, simply click on it and you’ll see its options on the left panel. You can change its content, style, layout and more. You can also drag and drop any widget from the left panel to your page to add new elements.
For example, if you want to change the headline of your homepage, simply click on it and type your own text. You can also change its font, color, size, alignment, and more from the left panel.
Similarly, if you want to change the image of your homepage, simply click on it and choose a different image from your media library or upload a new one. You can also adjust its size, position, border, and more from the left panel.
You can edit any element of your page in the same way. You can also add new sections and columns to your page by clicking on the plus icon at the top or bottom of any section.
To preview how your page looks on different devices, such as desktop, tablet, or mobile, you can use the responsive mode at the bottom of the left panel. You can also make changes to your page for specific devices by using the device icons at the top of the left panel.
Once you’re happy with your page design, you can save it by clicking on the green Update button at the bottom of the left panel. You can also preview your page by clicking on the eye icon next to it.
You can repeat this process for all the pages of your site that you want to edit. You can also create new pages by going to Pages » Add New from your WordPress dashboard and choosing a template from Elementor.
Step 4: Configure Your Website Settings
After adding your content and images to your site, the next step is to configure some basic settings for your site, such as your site title, tagline, logo, favicon, permalinks, and more.
To do this, go to Settings » General from your WordPress dashboard and enter your site title and tagline. Your site title is the name of your site that appears in the browser tab and search results. Your tagline is a short description of what your site is about.
You can also change your site address (URL), admin email address, timezone, date format, time format, and language from this page. Make sure to save your changes by clicking on the Save Changes button at the bottom.
Next, go to Settings » Reading and choose what you want to display on your homepage and blog page. You can either display your latest posts or a static page that you created earlier.
You can also adjust how many posts you want to show per page and whether you want to show the full text or a summary of each post. You can also enable or disable search engine visibility for your site from this page.
Next, go to Settings » Permalinks and choose how you want your URLs to look like. We recommend choosing the Post name option, as it is the most SEO-friendly and user-friendly option.
You can also customize your URL structure for different types of content, such as categories, tags, archives, and more. Make sure to save your changes by clicking on the Save Changes button at the bottom.
Next, go to Appearance » Customize and upload your logo and favicon for your site. Your logo is the image that represents your brand and appears on the header of your site. Your favicon is the small icon that appears on the browser tab and bookmarks.
You can also change other aspects of your site’s appearance, such as colors, fonts, menus, widgets, background, and more from the customizer. You can see a live preview of your changes on the right side of the screen and save them by clicking on the Publish button at the top.
Step 5: Launch Your Website
Congratulations! You’ve successfully created a stunning photography website in WordPress. The last step is to launch your website and make it live for the world to see.
To do this, you’ll need to remove the coming soon page that Bluehost automatically adds to your site when you install WordPress. This page is meant to hide your site from visitors until you’re ready to launch it.
To remove the coming soon page, go to Bluehost » Coming Soon Page from your WordPress dashboard and toggle off the Enable Coming Soon Page option. Then click on the Launch Your Site button.
That’s it! Your photography website is now live and ready to impress your visitors.
Market, Manage, and Grow Your Site
Now that you have a beautiful photography website in WordPress, you might be wondering what’s next. How can you market your site, manage it efficiently, and grow it over time?
Here are some tips and resources to help you with that:
- Install Google Analytics on your site to track your traffic, conversions, and performance.
- Optimize your site for SEO to rank higher on search engines and get more organic traffic.
- Add social media buttons and icons to your site to encourage visitors to follow and share your content.
- Create an email list and send newsletters to your subscribers to keep them engaged and updated.
- Add a blog to your site and publish useful and relevant content for your audience.
- Use plugins to add more features and functionality to your site, such as contact forms, galleries, sliders, testimonials, etc.
- Backup your site regularly and update WordPress, themes, and plugins to keep it secure and fast.
- Learn more about WordPress and how to use it effectively by reading our blog or joining our newsletter.
We hope this guide helped you create a stunning photography website in WordPress. If you have any questions or feedback, feel free to leave a comment below.